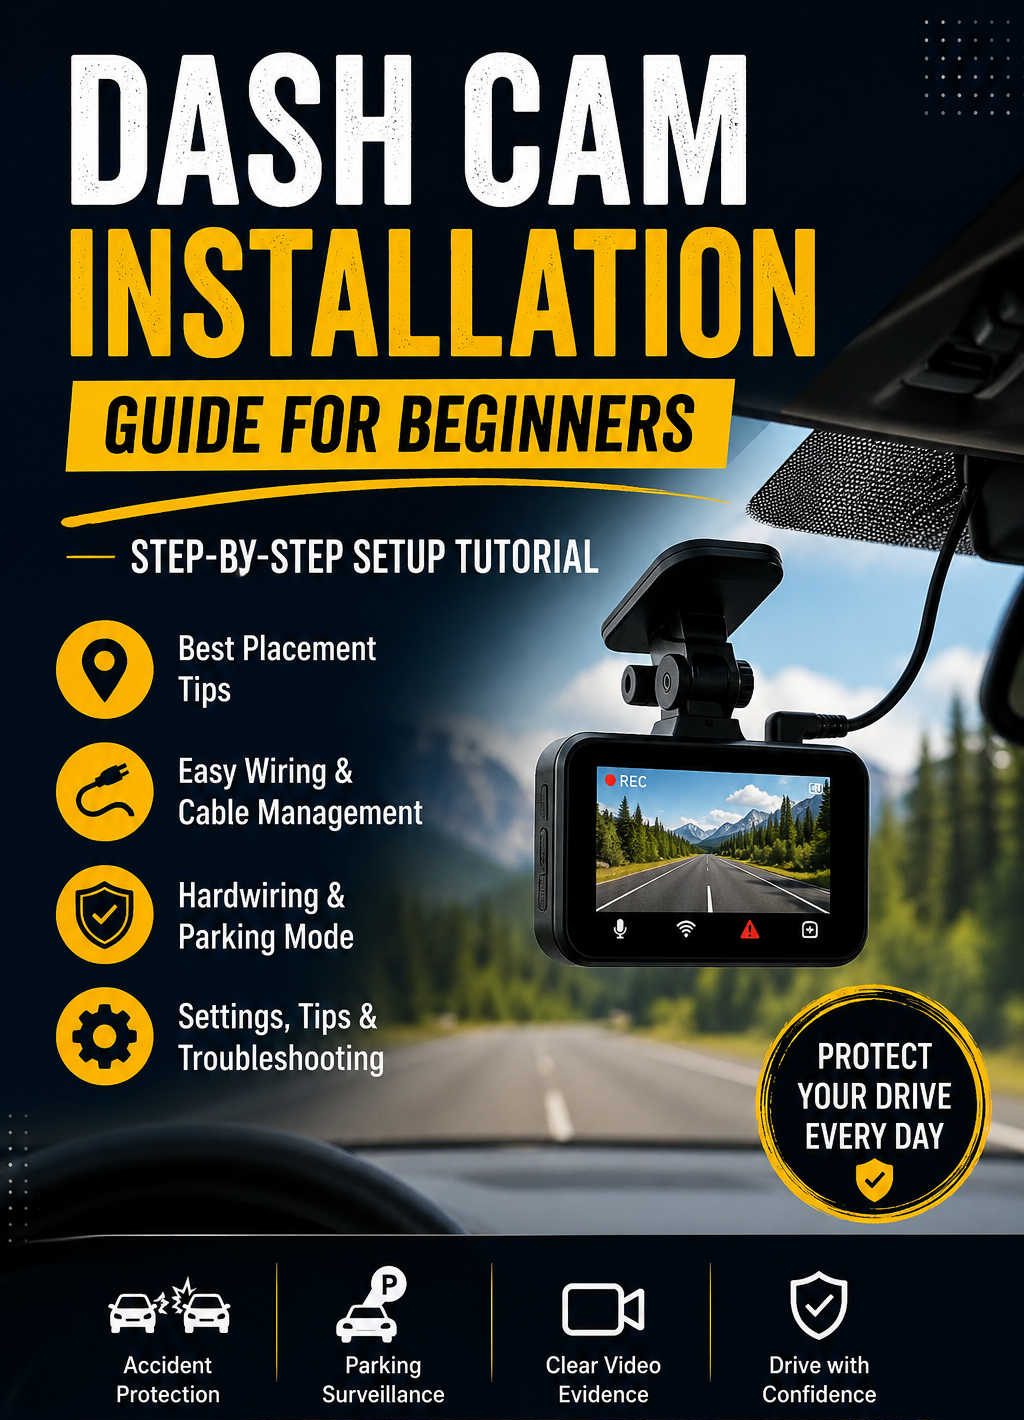
Installing a dash cam might seem intimidating at first, especially if you have never worked with car electronics before. Many beginners assume they need professional help, advanced tools, or technical knowledge just to mount a small camera inside their vehicle. In reality, most dash cam installations are surprisingly simple and can be completed at home with patience and basic guidance.
A dash cam is more than just a gadget attached to your windshield. It acts as an extra layer of protection while driving, records important moments on the road, and can even save you from expensive insurance disputes. Whether you commute daily, travel frequently, or simply want added security for your parked vehicle, a properly installed dash cam can make a significant difference.
The challenge for many first-time users is understanding where to place the camera, how to hide the wires cleanly, and which power option works best. This complete beginner’s guide walks you through the entire process in a practical, easy-to-follow way. By the end of this article, you will know how to install a dash cam correctly, avoid common mistakes, choose the right accessories, and maintain your setup for long-term reliability.
Why More Drivers Are Installing Dash Cams
Dash cams have gone from niche accessories to essential driving tools in recent years. More drivers now realize that a small camera can provide valuable evidence and peace of mind every time they get behind the wheel.
One of the biggest reasons people install dash cams is accident protection. In the event of a collision, footage from the camera can help prove what actually happened. Insurance companies, traffic investigators, and even police departments often rely on video evidence during disputes. A dash cam can protect you from false claims, staged accidents, and conflicting witness statements.
Another major advantage is parking security. Many modern dash cams include parking mode features that continue monitoring your car after the engine is turned off. If someone scratches your vehicle, hits it while parking, or attempts to break in, the camera may capture useful footage.
Dash cams are also useful for recording road trips, scenic drives, and unexpected moments while traveling. Some drivers even use them to improve driving habits because knowing you are being recorded naturally encourages safer driving.
For beginner drivers and experienced motorists alike, a dash cam offers both convenience and security in one compact device.
Understanding the Different Types of Dash Cams
Before beginning installation, it helps to understand the different dash cam styles available. Choosing the right type makes the installation process easier and ensures you get the features you actually need.
Front Dash Cams
A front dash cam records the road ahead through the windshield. This is the simplest and most common setup for beginners.
Front-facing models are usually:
- Affordable
- Easy to install
- Compact and discreet
If you mainly want accident protection while driving, a front dash cam is often enough.
Front and Rear Dash Cam Systems
Dual-channel systems include:
- One front camera
- One rear camera
These setups provide wider coverage and are especially useful for recording rear-end collisions or incidents that happen behind your vehicle.
Although installation takes longer because additional wiring is required, the extra protection is often worth it.
Interior Dash Cams
Interior-facing dash cams are popular among:
- Ride-share drivers
- Taxi drivers
- Commercial vehicle operators
These cameras record activity inside the cabin and may also capture audio depending on local laws and settings.
360-Degree Dash Cam Systems
Premium systems may include multiple cameras covering:
- Front view
- Rear view
- Interior
- Side angles
These advanced setups offer maximum coverage but usually require professional installation because of the more complex wiring.
What to Consider Before Installing a Dash Cam
Many beginners rush into installation without planning ahead. Spending a few minutes preparing can save a lot of frustration later.
Decide How You Want to Power the Camera
Dash cams typically use one of three power methods:
- Cigarette lighter adapter
- USB connection
- Hardwire kit
The easiest method is using the included cigarette lighter adapter, while hardwiring provides the cleanest appearance and enables parking mode features.
Think About Parking Mode
If you want the dash cam to monitor your vehicle while parked, you will probably need:
- A hardwire kit
- Battery protection support
Parking mode can be extremely useful in crowded parking lots or busy urban areas.
Check Local Laws
Dash cam regulations vary depending on your location. Some regions have restrictions regarding:
- Windshield placement
- Audio recording
- Privacy laws
Make sure your dash cam does not obstruct visibility while driving.
Recommended Dash Cams for Beginners
Choosing the right dash cam is just as important as installing it properly. Beginners should focus on reliability, ease of use, and video quality rather than complicated features they may never use.
Some excellent beginner-friendly models include:
When comparing dash cams, pay close attention to:
- Night vision performance
- Heat resistance
- Parking mode support
- Wi-Fi connectivity
- Ease of installation
- Memory card compatibility
A reliable dash cam should function consistently in both hot summers and cold winters without overheating or shutting down unexpectedly.
Tools You May Need for Installation
The good news is that dash cam installation rarely requires complicated equipment. Most beginners can complete the process with simple tools.
You will usually need:
- A dash cam kit
- MicroSD card
- Cleaning cloth
- Plastic trim tool
For hardwired installations, additional tools may include:
- Fuse taps
- Voltage tester
- Electrical tape
- Zip ties
A plastic trim removal tool is especially helpful because it allows you to tuck cables into interior panels without damaging your vehicle.
Where to Mount Your Dash Cam
Camera placement directly affects recording quality, safety, and overall appearance.
The best location for a front dash cam is usually behind the rearview mirror near the top-center of the windshield. This position keeps the camera discreet while providing a clear view of the road ahead.
Mounting the dash cam too low can:
- Distract the driver
- Obstruct visibility
- Create excessive dashboard glare
Before attaching the mount permanently, sit in the driver’s seat and confirm that the camera does not block your line of sight.
For rear cameras, the top-center area of the rear windshield usually provides the best angle. Make sure the lens is not obstructed by rear defroster lines or tinted sections of glass.
Step-by-Step Dash Cam Installation Guide
Now let’s walk through the actual installation process.
Step 1: Test Everything Before Mounting
Before sticking anything to the windshield, test the entire system.
Insert the memory card, connect the power cable, and turn the dash cam on. Confirm that:
- The camera powers up
- Recording works properly
- The display functions correctly
- The rear camera works if included
Testing beforehand prevents unnecessary reinstallation later.
Step 2: Clean the Windshield Thoroughly
Adhesive mounts work best on clean glass surfaces.
Use a microfiber cloth and quality glass cleaner to remove:
- Dust
- Fingerprints
- Grease
- Moisture
Allow the glass to dry completely before attaching the mount.
Step 3: Mount the Dash Cam Carefully
Position the dash cam behind the rearview mirror and use the camera preview to adjust the angle.
The lens should capture:
- The full width of the road
- The horizon level
- Minimal dashboard visibility
Once satisfied with the position:
- Remove the adhesive backing
- Press firmly for about 30 seconds
If using a suction mount, ensure it locks tightly against the windshield.
Step 4: Route the Power Cable
This is the part many beginners worry about most, but it becomes manageable once broken into steps.
The goal is to hide the cable neatly along the edges of the interior.
Most installations follow this route:
- Along the headliner
- Down the passenger-side A-pillar
- Under dashboard trim
- Toward the power source
Use your trim tool gently to tuck the wire into gaps without forcing panels open aggressively.
Understanding A-Pillar Airbag Safety
Modern vehicles often contain curtain airbags inside the A-pillars. This means cable placement matters.
Never route wires directly over airbag deployment areas. Instead, position cables behind trim carefully so airbags can deploy normally during an accident.
If you are unsure, consult your vehicle manual before continuing.
Powering Your Dash Cam
The way you power your dash cam affects both installation difficulty and available features.
Option 1: Cigarette Lighter Adapter Installation
This is the easiest method for beginners.
Simply plug the adapter into the vehicle’s 12V power socket.
Advantages include:
- Quick setup
- No electrical work
- Easy removal later
However, cables may remain slightly visible, and parking mode may not function depending on your vehicle.
For many first-time users, this method is more than sufficient.
Option 2: USB Power Installation
Some vehicles provide USB ports capable of powering dash cams.
This creates a cleaner appearance, but some USB ports shut off completely when the ignition turns off. If that happens, parking mode will not work.
Always test your USB ports before relying on them.
Option 3: Hardwiring the Dash Cam
Hardwiring connects the camera directly to your vehicle’s fuse box.
This method:
- Hides all cables
- Enables parking mode
- Creates a cleaner installation
Although it sounds intimidating, many beginners successfully hardwire their dash cams with patience and proper instructions.
How to Hardwire a Dash Cam
Hardwiring requires a dedicated hardwire kit and fuse taps.
First, locate the fuse box. Common locations include:
- Under the steering wheel
- Near the glove compartment
- Inside the engine bay
Next, identify:
- An ACC fuse for ignition-switched power
- A constant fuse for parking mode
Avoid important safety circuits like:
- Airbags
- ABS systems
- Electronic steering
Install the fuse taps carefully and connect the ground wire to a bare metal bolt or chassis grounding point.
After wiring everything, test the system thoroughly to ensure:
- The dash cam powers on correctly
- Parking mode activates properly
- Voltage protection works
Installing the Rear Camera
Rear camera installation takes longer because the cable must travel through more of the vehicle interior.
Most installers route the cable through:
- The headliner
- Side trim panels
- Rear hatch trim
Take your time and avoid pinching cables between moving panels.
SUVs and hatchbacks require additional cable slack near the liftgate hinges so the wire does not stretch during repeated opening and closing.
Best Dash Cam Settings for Beginners
A good installation is only part of the process. Proper settings improve recording quality and reliability.
Start by selecting the highest video resolution available. Higher resolutions make license plates and road signs easier to read.
Enable loop recording so old footage automatically overwrites when storage becomes full.
Adjust the G-sensor sensitivity to medium settings. If sensitivity is too high, bumps and potholes may trigger unnecessary emergency recordings.
Make sure the date and time are accurate because timestamps are important for legal and insurance purposes.
If your camera supports parking mode, experiment with sensitivity settings to balance security and battery usage.
Choosing the Right Memory Card
Many dash cam problems are actually caused by poor-quality memory cards rather than the camera itself.
Dash cams constantly rewrite video data, which puts heavy stress on storage media. Standard memory cards often fail prematurely.
High-endurance cards are specifically designed for continuous recording.
Reliable choices include:
For most users:
- 64GB works for basic recording
- 128GB suits dual-channel setups
- 256GB is ideal for 4K systems
Formatting the card regularly also helps prevent recording corruption.
Common Dash Cam Installation Mistakes
Even simple installations can go wrong if small details are ignored.
One common mistake is placing the camera too low on the windshield. This can distract the driver and reduce recording effectiveness.
Another frequent issue is poor cable management. Loose wires not only look messy but may interfere with pedals or interior trim over time.
Cheap charging adapters can also cause unexpected shutdowns or unstable recording. Using quality accessories is always worth the extra cost.
Some beginners also forget to test the memory card before relying on it. A faulty or counterfeit card may stop recording without warning.
Troubleshooting Common Dash Cam Problems
Even after proper installation, occasional issues may still appear.
If the dash cam refuses to turn on, start by checking:
- The power cable
- The adapter
- The fuse
- The power socket
If the camera keeps restarting randomly, the most likely causes are:
- Weak power supply
- Faulty memory card
- Overheating
Blurry footage is often caused by dirty glass or improper camera angles rather than hardware defects.
Parking mode issues usually trace back to incorrect hardwire connections or insufficient battery voltage.
Most problems can be solved with careful troubleshooting rather than replacing the entire camera.
Maintaining Your Dash Cam
Regular maintenance keeps your dash cam reliable for years.
Every few weeks:
- Clean the lens
- Inspect cable routing
- Check mount stability
- Format the memory card
Firmware updates are also important because manufacturers frequently release improvements for:
- Stability
- Video quality
- Feature support
After any accident or unusual incident, back up important footage immediately instead of leaving it stored only on the memory card.
Should You Install a Dash Cam Yourself or Hire a Professional?
For basic installations, most people can absolutely handle the process themselves.
DIY installation saves money and helps you understand your vehicle setup better.
However, professional installation may be worthwhile if:
- You want completely hidden wiring
- You drive a luxury vehicle
- You need advanced multi-camera systems
- You feel uncomfortable around fuse boxes
A professional installer can create a factory-style appearance, especially for complex setups.
Frequently Asked Questions About Dash Cam Installation
Is it difficult to install a dash cam for the first time?
Not at all. Most beginner installations are straightforward and only require basic tools. Plug-and-play setups can often be completed within 30 minutes.
Where should I place my dash cam?
The ideal location is behind the rearview mirror near the top-center of the windshield. This position offers a wide road view while keeping the camera discreet.
Can I install a dash cam without hardwiring?
Yes. Many people use the included cigarette lighter adapter successfully. Hardwiring is mainly useful for enabling parking mode and hiding cables more cleanly.
How much does professional dash cam installation cost?
Professional installation costs vary depending on:
- Vehicle type
- Number of cameras
- Wiring complexity
Simple installations are usually affordable, while advanced multi-camera systems cost more.
Will a dash cam drain my car battery?
A dash cam can drain the battery if parking mode runs continuously without voltage protection. Most quality hardwire kits include battery cutoff features to prevent this.
How long do dash cam memory cards last?
High-endurance cards typically last much longer than standard memory cards because they are designed for constant recording. Lifespan depends on recording quality and usage frequency.
Do dash cams record when the car is off?
Only if parking mode is enabled and the camera receives constant power through hardwiring or a dedicated battery pack.
What video resolution is best for a dash cam?
For most drivers, 1440p provides an excellent balance between image quality and storage usage. 4K offers even sharper detail but requires more storage space.
Can extreme heat damage a dash cam?
Yes. Cheap dash cams may overheat during hot weather. Choosing a heat-resistant model is especially important in warmer climates.
Is a rear dash cam necessary?
A rear camera is not mandatory, but it provides additional protection during rear-end collisions and parking incidents.
Final Thoughts
Installing a dash cam is one of the most useful upgrades you can make to your vehicle. Beyond simply recording video, it provides peace of mind, accident protection, and additional security every time you drive.
For beginners, the process is far less complicated than it first appears. A simple front-facing dash cam can usually be installed in under an hour with minimal tools. As your confidence grows, you can explore more advanced features like rear cameras, parking mode, and hardwired setups.
The key to a successful installation is patience. Take your time with cable routing, choose a reliable power source, and test everything carefully before finishing the setup.
Once properly installed, a dash cam quietly works in the background every day, helping protect both you and your vehicle whenever you are on the road.
Discover more from Auto Volt Tech
Subscribe to get the latest posts sent to your email.
 Auto Volt Tech